
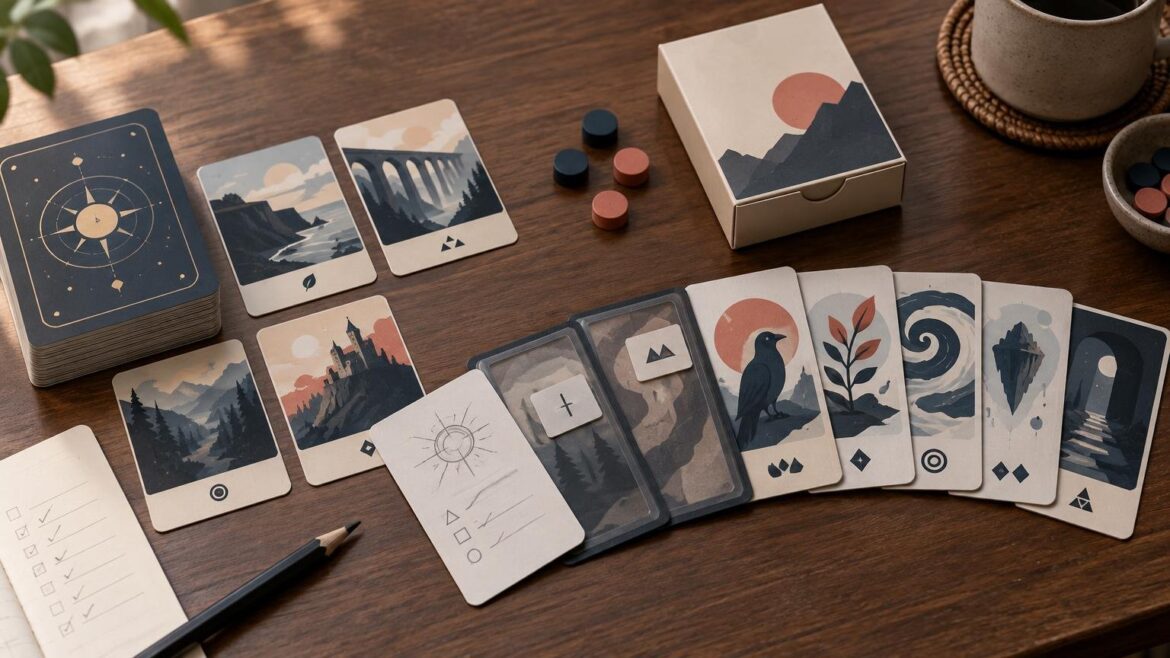
TLDR: You usually do not need to reprint the base game to test an expansion. Keep one documented edition of the base game as your control, make only the new or changed components, and choose the cheapest prototype format that can answer your next question. Paper slips in opaque sleeves are enough for many mechanics and balance tests. Move to professionally printed cards only when size, opacity, shuffle feel, card backs, durability, readability, or packaging could change the result.
The efficient way to prototype card game expansion cards is to treat the expansion as a controlled experiment. Freeze the base game, define the question for the current round, and change only the add-on module where possible. That makes tests easier to prepare and helps you tell whether a result came from the expansion rather than an unnoticed change to the underlying game.
This is also why a polished prototype is not automatically a better prototype. The Tabletop Game Designers Association recommends beginning a playtest with a defined question, using functional prototypes, and iterating rather than treating development as a one-way sequence. Its playtesting resources for tabletop game designers also distinguish early solo testing from blind testing without the designer’s explanation.
Begin with the question, not the printing method
Write down the one or two questions the next playtest must answer. “Does the expansion work?” is too broad. A useful question names something observable: Can players understand the new keyword? Does adding ten event cards make the game too volatile? Can expansion cards remain hidden when shuffled into the base deck? Does setup now require too much sorting?
Your test question determines the necessary fidelity. If you are testing a cost value, handwriting a replacement number may be enough. If you are testing whether a card can be identified from its back or edge, the physical construction matters and a paper-only mockup may produce a misleading result.
| Question being tested | Lowest useful fidelity | What to observe |
|---|---|---|
| Core effect, timing, or resource cost | Handwritten cards or paper inserts | Rules conflicts, choices, frequency of use |
| Balance and deck composition | Sleeved paper inserts | Draw rate, combinations, pacing, dominant strategies |
| Layout and comprehension | Clean home-printed cards at final physical size | Reading order, icon recognition, text seen in hand |
| Hidden information | Opaque sleeves with uniform backing cards | Whether players can identify expansion cards before reveal |
| Unsleeved shuffle compatibility | Expansion-only printed sample | Thickness, surface feel, corner shape, opacity, edge visibility |
| Packaging and setup | Near-final sample plus draft packaging | Fit, sorting, component inventory, setup and teardown flow |
Do not jump from a rough mechanic to a boxed sample merely because the expansion eventually needs a box. Raise fidelity when the property being upgraded is part of the test.
Five ways to prototype card game expansion cards
1. Handwritten blanks for rapid changes
Use index-card pieces, blank cards, or discarded cards covered with removable labels when you are still changing effects every session. Include only the functional information: stable card ID, name, cost, effect, type, and any timing or set symbol the test requires.
This format is fast enough to replace one troublesome card between games. It is poor for testing readability, hidden information, or shuffle behavior, but those may not be your current questions.
2. Paper inserts in opaque sleeves
For most expansion development, place printed paper fronts over identical backing cards inside opaque sleeves. Sleeve the relevant base-game cards the same way so every card in a shared draw pile has comparable edges and backs. If expansion cards stay in a separate face-up market or personal tableau, you may only need to sleeve that module.
Paper inserts make revisions cheap while preserving a consistent physical footprint. They are particularly useful for balance tests, because one sheet can replace only the changed cards. Keep every insert aligned and trim away obvious protrusions, but remember that a sleeved paper sandwich does not reproduce the feel of an unsleeved production deck.
3. Controlled overlays or removable stickers
An overlay works when the expansion temporarily changes a base-game value, icon, map space, or reference panel. Use it only when the test itself concerns that modification. Avoid permanently altering your sole control copy; use removable material or keep a second documented base set if repeated overlays could damage components.
4. A standalone short-run expansion deck
Order an expansion-only deck when physical compatibility has become a design question. This can reveal whether cards are distinguishable by opacity, edge appearance, corner shape, thickness, coating, or shuffle feel. Matching the nominal width and height is not enough to prove compatibility with an existing deck.
Use the selected printer’s current product template rather than transferring dimensions from another product. As one illustration of why this matters, MakePlayingCards separately lists a 63 × 88 mm game-card format and a 2.5 × 3.5 inch poker format. Those labels should not be treated as interchangeable without checking the exact product template. Its image guidance also specifies bleed and safe margins for its own system, reinforcing that file requirements belong to the selected product rather than to a universal card template.
5. A near-final sample with draft packaging
Use this only after the expansion’s card count and physical format are fairly stable. The sample should test the complete handling sequence: opening, sorting, setup, play, teardown, and storage. Packaging templates can vary by both card size and card count, so choose the physical deck configuration before committing to structural artwork. Designers exploring the wider print-production context can also consult printing topics at Printiverse, while relying on the chosen manufacturer’s live template for the actual order.
Keep the base game as a documented control
Choose the exact base-game edition used for testing and record it. Note the printing or edition, rules revision, errata applied, promotional cards included, and any house rules removed. If the base game changes during expansion development, create a new test branch rather than quietly mixing results from two controls.
Change as little as possible in each round. If you revise fifteen expansion cards, a setup rule, and two base cards simultaneously, a better session will not tell you which change helped. Some interactions require a base-game patch, but label those patches separately from expansion content.
A simple version label might read EX1-CARD-v0.7 / RULES-v0.4 / COPY-B / 2026-03-24. Give each card a permanent ID such as EX1-023. Its name and rules can change while the ID remains stable, allowing notes from different rounds to point to the same design object.
- Expansion code: identifies the module or working title.
- Stable card ID: follows the card through renaming and revision.
- Card-set version: changes when card files or composition change.
- Rules version: changes independently from the card set.
- Test-copy identifier: distinguishes physical packets with different contents.
- Date and one-page changelog: records what changed and why.
Do not rely on filenames such as final, final2, or final-revised. Export each playtest set into a locked folder, include a component manifest, and archive the exact rules used. If you need broader prototype workflow guidance, see how to build a card game prototype before a full print run.
Build a playtest packet that can survive without you
A designer-led session can answer mechanical questions, but it may hide weaknesses in setup instructions and terminology. Once the expansion is stable enough, prepare a blind-playtest packet that someone can open and use without verbal coaching.
- The exact expansion module and a count of every component.
- The required base-game edition and any excluded modules.
- Setup instructions showing where the expansion enters the game.
- Only the rules testers need, with new terms defined in context.
- A visible prototype notice explaining that wording and art may change.
- A card list keyed to the permanent card IDs.
- A short feedback form tied to the test questions.
- A return or reset checklist so the next group receives a complete kit.
Run the packet yourself from a cleared table before sending it out. Follow the written setup literally rather than filling gaps from memory. Solo testing is useful early, while blind testing becomes valuable when you need to learn what happens without designer explanation.
Collect evidence instead of asking whether it was fun
Broad opinions are difficult to act on. Organize feedback around discovery, comprehension, choices, balance and pacing, and physical usability. Record what happened before asking players to diagnose it.
- Discovery: Did players notice the new options and understand when they became available?
- Comprehension: Which words, icons, or sequences required explanation?
- Choices: Did the expansion create meaningful alternatives or an obvious default?
- Balance and pacing: Which card IDs appeared in unusual wins, stalls, loops, or long turns?
- Physical usability: Could players sort, hold, read, shuffle, and conceal the new cards?
- Overhead: How much extra setup, explanation, table space, and teardown did the module add?
Ask testers to describe confusing moments and unintended behavior before proposing fixes. TTGDA advises designers not to argue with testers and notes that testers are generally better at identifying problems than prescribing design solutions. If several players struggle with the same hierarchy or symbol, use a focused card-layout readability test before changing the entire visual system.
Test expansion size in deliberate batches. There is no universal ideal number of new cards. Begin with the smallest group that creates the interaction you need to observe. Add the rest in modules, logging which cards were present in each session. This is more informative than dropping every unfinished idea into one deck and trying to infer which part caused the result.
Prevent expansion cards from revealing hidden information
If new cards enter a shared hidden deck, players should not be able to identify them from the back, edge, stiffness, thickness, curl, or shuffle sound. Opaque sleeves with common backing cards are the simplest development control. Use the same sleeve model and backing card throughout the mixed deck.
For an unsleeved sample, compare more than artwork dimensions. Inspect card-back color, edge color, corner radius, stock thickness, opacity, surface texture, and coating under normal play lighting. A stock described as having an opaque or colored core may help with show-through, but that does not establish a universal match: for example, MakePlayingCards describes its M29 Standard Linen as a blue-core stock intended to limit transparency, a specification specific to that product. Review card-stock factors for custom playing cards to understand the variables, then obtain current samples or specifications from the printer producing your expansion.
A different card back is appropriate when the expansion remains in its own deck or must be sorted quickly after play. It is usually inappropriate when cards are shuffled into a shared hidden deck unless opaque sleeves deliberately conceal the difference.
Know when the expansion is ready for a production sample
A professionally printed expansion-only sample is worthwhile when mechanics are stable enough that physical properties could affect the next decision. Before ordering, freeze the card count for that sample, choose the card-back approach, lock size and portrait or landscape orientation, and prepare rules that another group can use without explanation.
Match every file to the live template for the exact printer product. Check bleed, safe areas, resolution, color guidance, corner treatment, and front-to-back orientation there rather than borrowing values from a generic guide. Keep important text and icons comfortably inside the safe region instead of using the boundary as a target.
- Confirm that mixed cards do not reveal hidden information.
- Compare shuffle behavior and deck thickness with the base game.
- Inspect corners, edges, surface wear, and card-back consistency.
- Read cards in a hand, on the table, and under ordinary room lighting.
- Sort the expansion out of the base game using its set mark or card IDs.
- Run setup and teardown using only the written instructions.
- Check whether the combined components fit the intended storage arrangement.
- Verify the component manifest and every printed card against the approved file set.
One sample can expose compatibility and usability problems, but it does not prove that every later production, collation, packaging, or logistics variable is settled. Treat it as another test object with a defined purpose, not as automatic approval for a full run.
The practical next step
Freeze the base-game edition, write one test question, and build only the expansion components needed to answer it. Use rough cards for rules, opaque sleeves for hidden-information and balance work, and an expansion-only printed sample when physical compatibility becomes part of the design problem. With stable card IDs, separate rules and card-set versions, and a short changelog, you can revise a handful of cards without rebuilding the entire game—or losing track of what the playtest actually proved.